 |
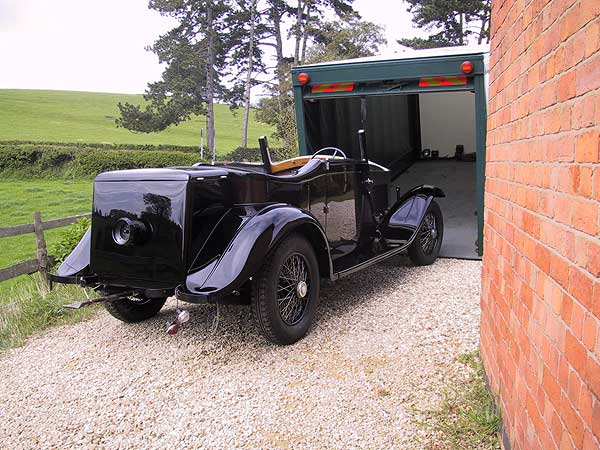
The car being returned from the paint shop. The colour scheme is black over dark Burgundy, using the same colour split as before. The car is now in the same pallet as my Phantom III. The paint on this car is water based, which will allow easier repair
work in the future, should it ever be needed. |
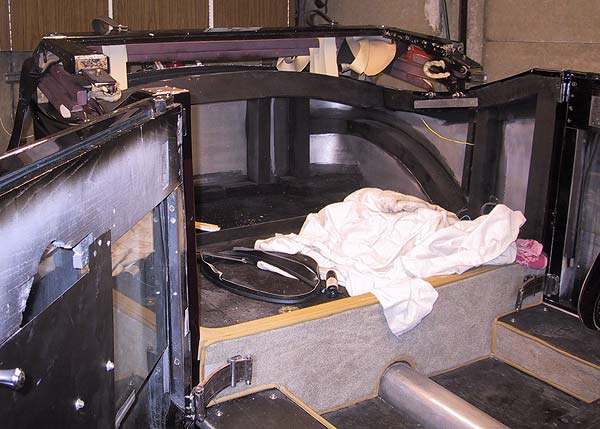 |
The hood frame attached to the body. The rear hoop operates on the rear pivot, the two intermediate hoops are attached to the forward pivot and the front hoop is located by a connecting bar and spring. Lateral positioning of the front hoop is achieved by a locating lug, in the base of its hinge, that sits in a socket in the upper face of the 'B' post. Visible, but not evident, is the arched wooden cross-brace that also acts as the support for the rear seat back. This cross-member was moved backwards in the body frame to achieve two improvements. By increasing the rake of the seat back, passenger comfort was enhanced at the same time as increasing the effective headroom whilst retaining the same roof profile. |
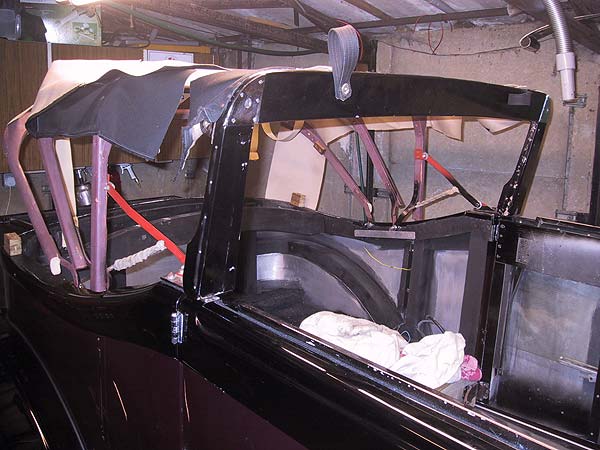 |
Preliminary hood frame erection to confirm that the modifications work. Two wooded blocks can be seen, attached to the upper edges of the rear body woodwork. These were installed so that the folded hood no longer rests on the lid of the luggage compartment; removing the risk of damage to the paint and panel work.
|
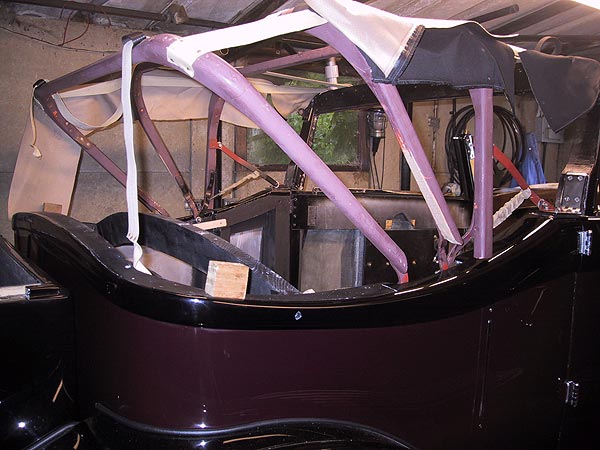 |
Due to the position of the rear glass window, which is integral with the Mohair hood covering, the folding process was modified to allow the window glass to fold flat when the hood is down. This part of the frame modification necessitated having the rear hoop free-floating during the folding process. To achieve the desired effect it was necessary to utilise two sets of tensioning webbing. The forward webbing holds the first three hoops in correct alignment whilst the rear webbing locates the final positioning when erect. This arrangement allows the rear hoop to slide forwards, under the rear webbing, to allow clearance for the window to lie flat when folding down yet stand vertically during erection. |
 |
The top of the front 'A' post on the offside. This hood has a three-position option: fully enclosed, driver's cabin open or fully folded back. This shows one of the two pins that locate the front header rail above the windscreen. The hole in the flat face of the pin is the locating socket for the spring-loaded bolt that holds the header rail in place when the hood is fully erected. The pin is an interference fit in the ash 'A' post and was locked in place using a two-pack amine/epoxy resin. |
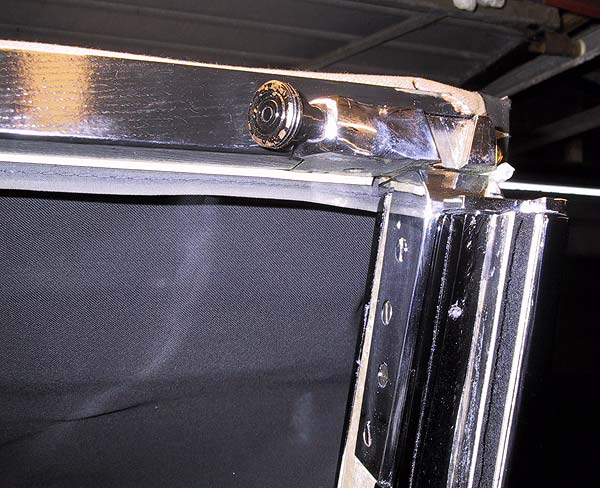 |
This photograph shows the offside 'A' post pin installed, with the hood header rail and the spring-loaded bolt attached so that the bonding resin for the pin will set in the correct orientation. The hood material can be seen folded over the front of the windscreen aperture during this operation. |