 |
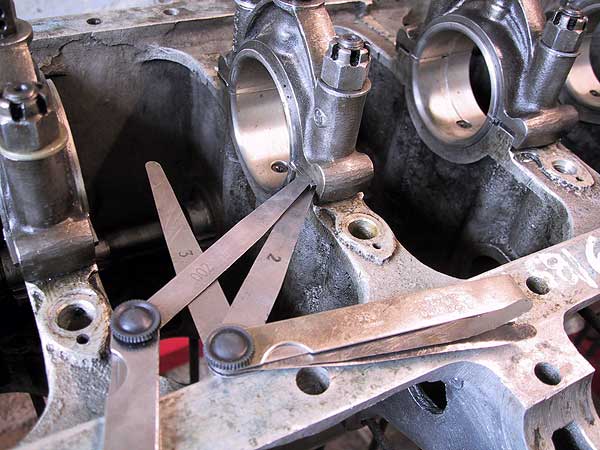
Checking bearing nip. All of the main bearing caps were tightened to the correct torque (336-360 inch/lbs). In turn, each nut is released and then tightened until it just starts to grip the cap. When set-up correctly, the shim will sit centrally in the resultant gap with a clearance of 0.002" above and below. The process was repeated for all of the nuts. All of the nip gaps should be set up prior to re-metaling the bearings. When new bearings and shims are fitted the adjustment method is to carefully relieve each shim on a face plate until the appropriate gaps are achieved.
|
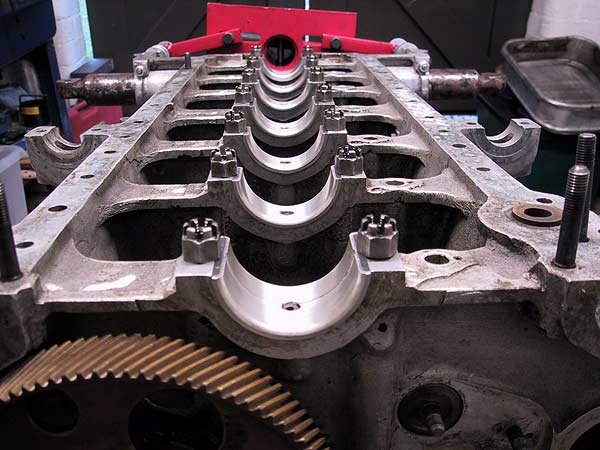 |
All of the main bearing bolts have been pushed out of the way and are shown held in place by their nuts. The uppers shells were removed and they and their seats were carefully cleaned. The hollow dowels were inspected and cleaned where necessary. Before placing the crankshaft in position the upper bearing surfaces were coated with graphite assembly paste. |
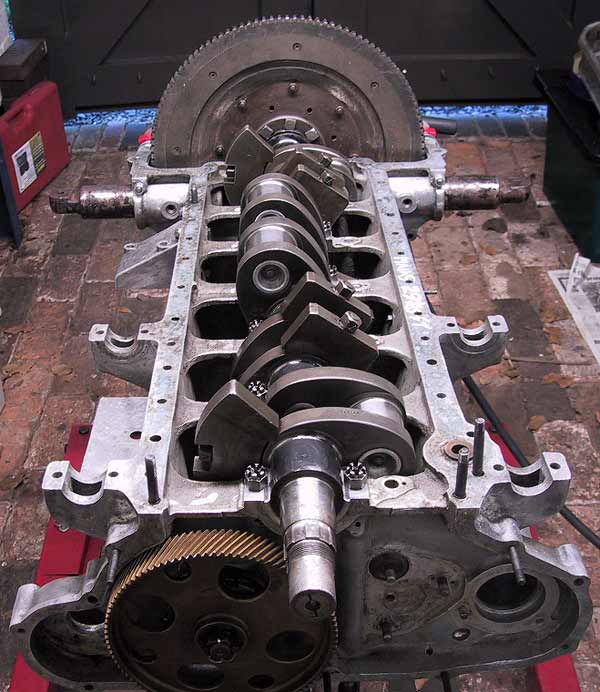 |
Crankshaft carefully lifted into place. It is important that the bearing edges are not damaged as the shaft is lowered into place. The exposed surfaces of the main bearings were coated in assembly paste. |
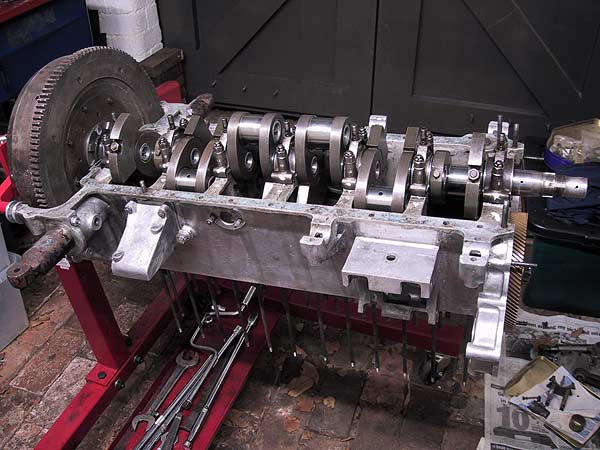 |
The lower caps were dismantled and cleaned prior to refitting. It is important that all caps, bearing and shims are installed the right way around and that the shims are also the correct way up. All components should have been stamped with their position number. All numbers face the marks stamped into the block casting adjacent to each main bearing. |
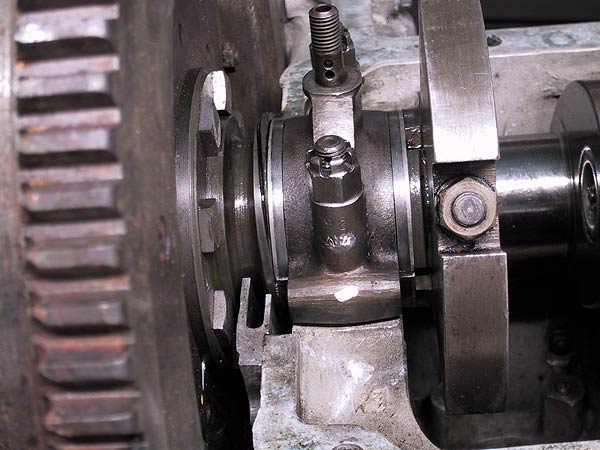 |
The free movement of the crankshaft should be tested after each cap is fitted. Any tightness should be investigated and rectified before moving to the next. This photograph shows the rear, #7, main bearing. Crankshaft end float is controlled by this bearing and should be in the range 0.0025-0.0035". This was exactly 0.003". Note the position of the Archimedes screw to the rear of the bearing.
|