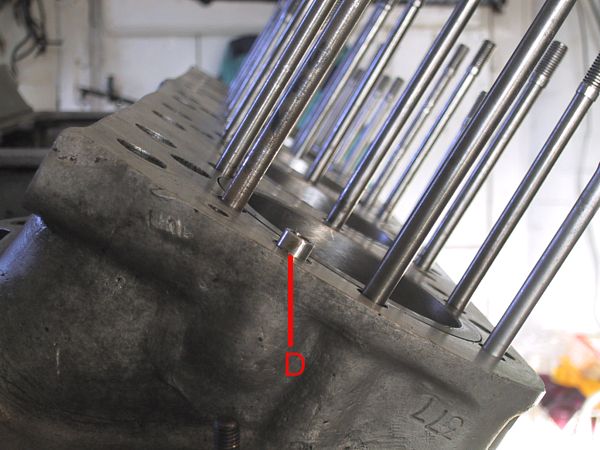
Inserted the 4 hollow dowels in the block. 'D' shows the front dowel in 'A' block; another is located at the rear of the block and, obviously, there is a matching pair on 'B' block.
The dowels are important as they accurately locate the gasket on the block face. Without them it is possible for the gasket to slip down against the studs which will then partially obstruct the oil passages up to the hydraulic valves and rocker assemblies.

Prior to fitting the gaskets the rebates at the base of all of the studs were filled with grease; the face of the block was then carefully coated with a thin film of grease using a small paint brush so as to avoid the water passages. The gasket was fitted and its upper face painted with a film of grease. Stud shanks (but not upper threads) were coated with copper lubricant in the hope of providing a degree of corrosion resistance.
As a final precaution, aimed at avoiding future head removal problems, the insides of the stud holes in the cylinder heads were coated with copper lubricant. Believe it, or believe it not, this greasing and lubricating exercise took just under two hours.

And then the fun started!
'B' head slid perfectly onto the studs - and centre stud #7 was too short. Head off, gasket off, stud out: a rogue stud that was about 1/4" short. Replaced the stud with a good one from the old engine - all of this only wasted about 10 minutes. Used new washers and nuts, gently tightened in a cross-pattern sequence, tightened more, tightened to the right 'feel' then checked with a torque wrench. Preliminary torque setting at 240 in/lbs.
'A' head fitted - only to show that I had taken too much Christmas spirit - I had managed to transpose the two studs shown at 'C'. Head and gasket off, swap studs, h & g replaced, washers and nuts attached, tightening sequences one and two completed. Half way through pulling up the nuts to 'feel' the #3 centre stud, 'S', stripped in the block (I was convinced that I had checked all of these!). H & g off, stud out, drill out hole, tap and screw in a helical insert (rebated as before). Re-attach everything, tightened it up with bated breath and gave a great sigh of relief. Another half hour wasted.
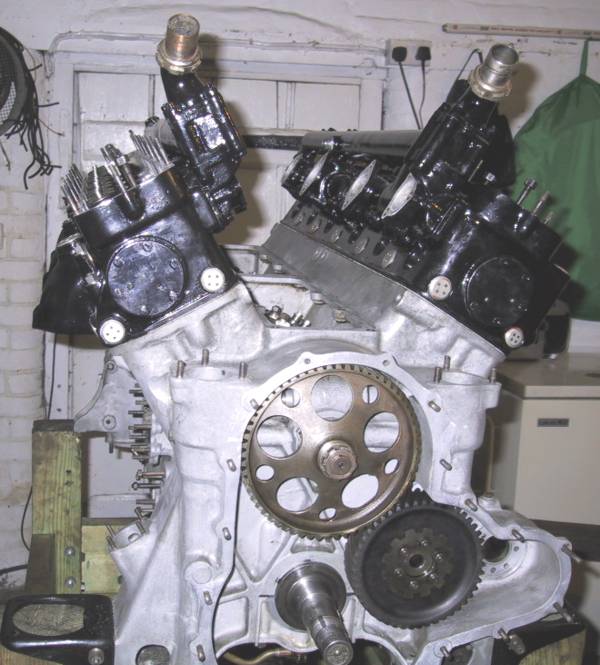
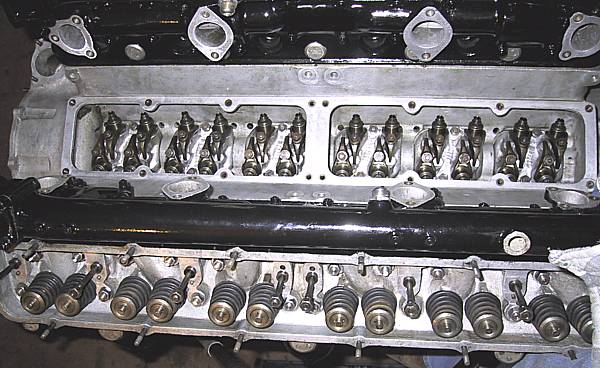
It is beginning to look like an engine.
Next tasks are: -
- 1) remove camwheel and fit cross-shaft
- 2) fit 'A' front rocker assembly with A1 push rod
- 3) set A1 inlet valve gap to 0.030"
- 4) attach crankshaft damper.